
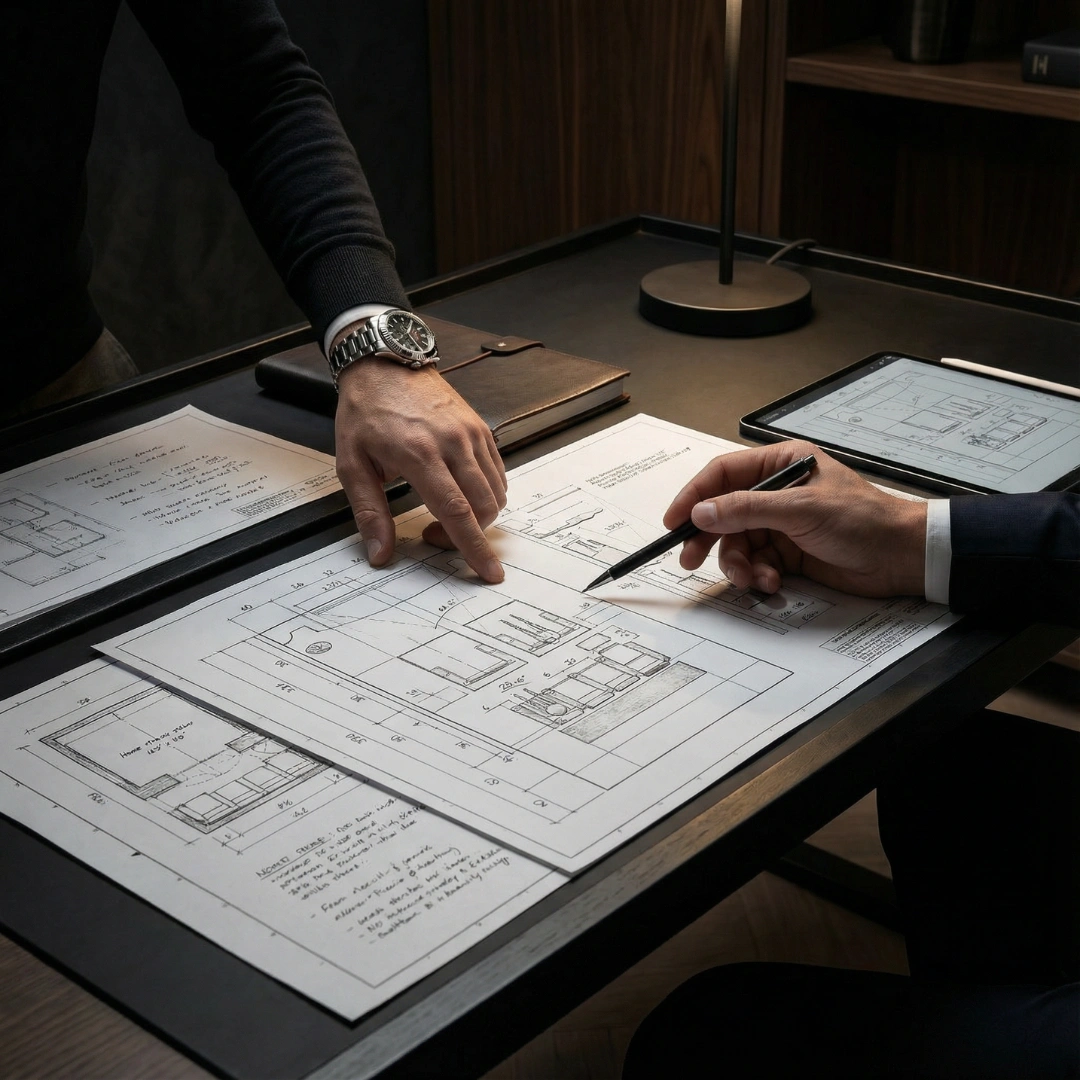

Buying expensive equipment without a layout plan is one of the most consistent ways to waste a home theater budget. The picture looks washed out. The dialogue sounds muddy. Seats end up in the wrong position entirely. Planning home theater spaces thoughtfully – before a single purchase – separates a genuinely immersive setup from a room full of regret.
The numbers reflect a massive shift toward home-centered entertainment. Consumer data shows that 46% of viewers now prefer streaming movies at home, compared to just 15% who favor commercial theaters. Furthermore, 52% of households prioritize upgrading to premium audio-visual systems for their home spaces. With audiences trading the cinema for the living room, getting the layout right matters just as much as the hardware itself.
Why the Room Comes First
Every good home theater design plan starts with the four walls, not the equipment list. Room dimensions, ceiling height, window positions, and door swings all determine what's physically possible before any screen or speaker is selected.
Square rooms are acoustically problematic – sound waves bounce at the same frequencies and reinforce each other in unpleasant ways. Rooms narrower than 12 feet make multi-row seating impractical. Ceiling heights under 8 feet cause problems with projector throw angles. These are constraints that no amount of budget can override once the room is built.
What to Measure Before Anything Else
Map the room with a tape measure and note:
- Total dimensions – width, length, and ceiling height
- Fixed features – HVAC vents, load-bearing walls, door swings, window positions
- Electrical layout – existing outlets and where new circuits may be needed
- Flooring type – hard floors create reflections; carpet absorbs sound
Pro Tip: Natural light is underestimated at this stage. A south-facing window across the screen wall ruins the projector image quality regardless of the projector quality. Blackout shades belong in the initial plan, not added later.
Budget allocation follows the room assessment. Spread funds across display, audio, seating, acoustic treatment, and wiring before committing to any single component. Overspending on a projector and running out of budget for proper seating is a common and avoidable mistake.

Screen Placement and the Viewing Distance Formula
Screen size and seating position are inseparable – one cannot be decided without the other.
According to THX, the general rule of thumb for a cinematic experience at a 40° field of view is to multiply the viewing distance in inches by 0.835 to determine the appropriate screen size in diagonal inches. SMPTE uses a slightly more conservative 30-degree angle, suited to mixed-use or family rooms.
How Viewing Distance Changes by Screen Size
Formula reference: THX – Screen diagonal = distance × 0.84 | SMPTE – Screen diagonal = distance × 0.625
Projector vs. Large TV: Different Placement Rules
A 4K projector and an 85-inch TV follow different spatial logic. Projectors need throw distance – typically 1.2 to 1.5 times the screen width for standard-throw models. Long runs past 25 feet may require active HDMI boosters or fiber optic cables to avoid signal loss.
TVs offer more placement flexibility but perform better in rooms with some ambient light. Home theater projectors require near-total darkness to deliver contrast. Choosing the wrong display type for the room's light conditions is one of the most common planning home theater mistakes.
Screen height matters too. The screen center should align with seated eye level – roughly 42 inches from the floor for standard recliners. Mounting a screen too high causes neck strain over two-hour films, an issue that's easy to overlook in the planning phase and painful to fix later.
Seating Layout: Where Comfort and Sightlines Meet
Home theater design plans consistently underestimate how much floor space recliners actually require – not the upright footprint, but the full recline extension, which adds 18 to 24 inches to each chair's depth.
Space that looks generous on a floor plan can become suffocating once five fully reclined chairs fill a 12-foot room. Always calculate seating in the extended position.
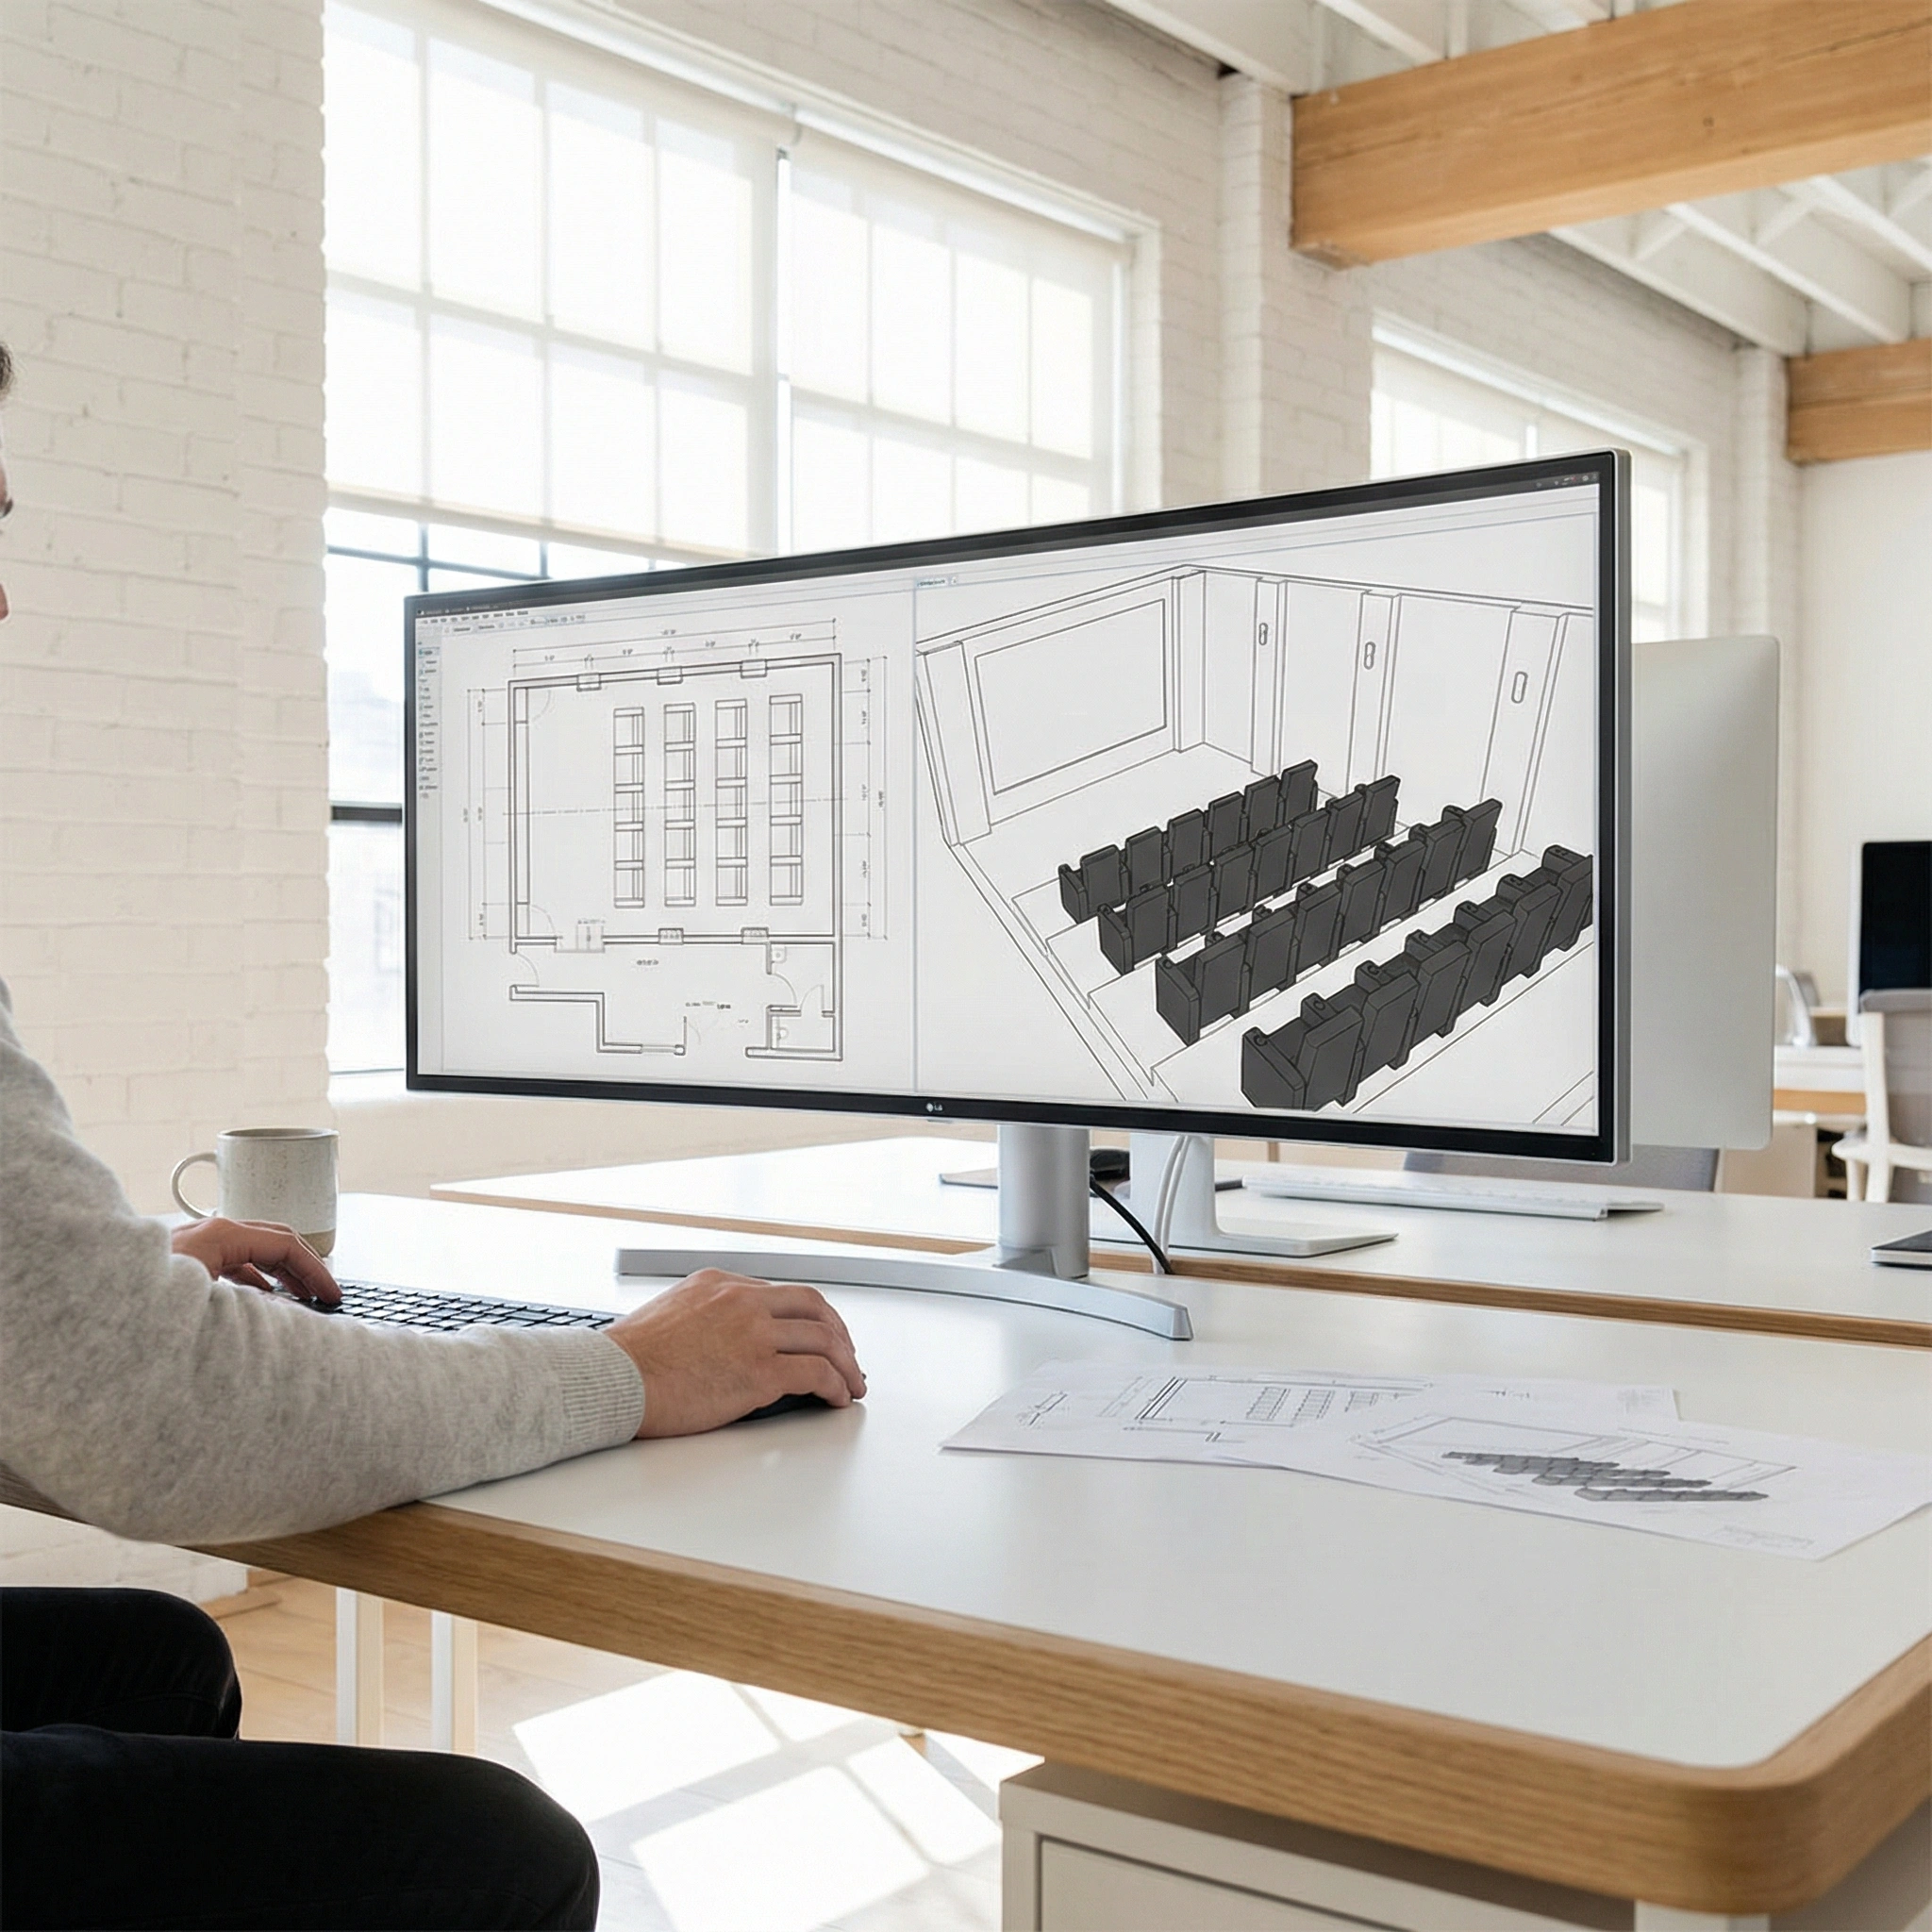
Single Row vs. Multi-Row Configuration
The right seating configuration depends on room depth and viewer count:
- Single row – best for rooms under 15 feet deep; seats 10–14 feet from the screen
- Two rows, flat floor – works in casual family rooms, but risks blocked sightlines for the rear row
- Two rows, tiered – the rear platform should be 16 to 18 inches above the front floor level to clear seated heads in the front row
- Modular or L-shape – suited for multi-use rooms that need flexible reconfiguration
Row spacing needs at least 36 inches of clearance when seats are fully reclined. Tighter spacing means guests stand and block sightlines every time someone needs to move. Elite HTS modular seating is designed for layouts that need to adapt without compromising comfort.
Sound Placement and Acoustic Treatment
Planning home theater audio is a geometry problem as much as an equipment problem. A correctly placed modest speaker system will outperform a high-end system placed carelessly.
Speaker Angles That Actually Work
- Front left and right – flank the screen at seated ear level, angled 22–30 degrees inward toward the primary listening position
- Center channel – directly above or below the screen, horizontally aligned with the left and right tweeters
- Surround speakers – to the sides and slightly behind the listening position, not beside it
- Subwoofer – bass is largely non-directional, but corner placement can over-amplify low end; experiment before committing
Treating the Room Without Ruining the Look
Bare drywall and hard floors create reverb that makes dialogue harder to understand. Acoustic panels at first-reflection points – the side walls at speaker level and the back wall – cut flutter echo noticeably. Bass traps in room corners address low-frequency buildup.
Heavy curtains, upholstered furniture, and thick rugs all contribute to sound absorption. Elite HTS home theater seating uses dense, upholstered construction that acts as a natural acoustic absorber – practical and functional at once.
Lighting: Two Jobs, One Plan
Lighting in a home theater must set the mood before playback and stay invisible during it. These goals pull in opposite directions, which is why layered planning matters.
Bias lighting – LED strips behind the screen at 6500K color temperature – reduces contrast between a bright display and a dark wall, lowering eye strain during long sessions. It's a small addition with a measurable impact on comfort.
Recessed dimmers on perimeter lighting give viewers brightness control without disturbing the image. Smart home integration routes lights, motorized shades, and audio through a single control – one button, full transition to viewing mode.
Room color matters: dark matte grays and deep blues absorb stray light. Glossy or light-colored walls create screen reflections that no calibration setting can fix.
The Planning Mistakes That Cost the Most
The errors that derail home theater builds tend to be preventable and expensive. Catching them in the planning phase costs nothing.
- Buying seating before measuring: Recliners that fit in a showroom can physically obstruct the projector path in an actual room
- Skipping acoustic treatment: Budget spent on equipment with nothing left for room treatment limits the sound quality of the entire system
- Ignoring wiring during construction: Running cables inside walls requires planning before drywall – conduit after the fact is expensive and disruptive
- Misaligning screen height: Too high causes neck strain; too low creates viewing angle problems for rear rows
- Choosing wall color for aesthetics only: Bright or reflective walls interfere with screen performance at every brightness setting
Thoughtful Planning Creates a Better Theater
Planning home theater spaces carefully – measuring, mapping, budgeting, and working through constraints before buying – consistently delivers better results than improvising around purchases already made. The room, the seating, the acoustics, and the display all interact. Getting them right from the start is what produces the experience worth building.
Considering seating for your home theater project? Request samples and specifications from Elite HTS – Canadian-made, commercial-grade construction, custom upholstery in any color, and backed by a 20-year warranty. Seating is designed to fit the layout, not the other way around.
Frequently Asked Questions
How do you plan a home theater layout for a small room?
In rooms under 12 feet deep, a single row of seating paired with an 85–100 inch TV typically outperforms a projector setup, which requires meaningful throw distance. Wall-mounted speakers and modular seating recover floor space without sacrificing the experience.
What is the ideal viewing distance for a home theater?
Use the THX formula: screen diagonal = viewing distance (inches) × 0.84. At 12 feet, that suggests a 121-inch screen for full immersion. SMPTE's more conservative standard gives 90 inches at the same distance.
How should multiple seating rows be arranged?
On a tiered floor, the rear platform should sit 16 to 18 inches above the front to clear seated heads. On a flat floor, the screen must be mounted higher – which trades comfort for the back row against neck angle for the front.
What mistakes do people make most often in home theater planning?
The most damaging are: purchasing equipment before measuring the room, skipping acoustic treatment, placing the screen too high, and failing to plan cable runs before construction is complete.
Where should the surround speakers go?
Front speakers flank the screen at ear level, angled 22–30 degrees inward. Surrounds go to the sides and slightly behind the primary seating position. The center channel should align horizontally with the left and right tweeters – not float above or below them.